 Instructions on installing/updating Outlook GroupCalendar.
(last modification may 2007)
Instructions on installing/updating Outlook GroupCalendar.
(last modification may 2007)To install GroupCalendar you need Outlook 2000, 2002, 2003, 2007 and windows 95 or higher.
Instructions on installing/updating Outlook GroupCalendar.
(last modification may 2007)
To install GroupCalendar you need Outlook 2000, 2002, 2003, 2007 and windows 95 or higher.
When installing to a computer where the user is not allowed to install software follow this instruction please.
We can help you to install the software. There is no charge for that and we really don't mind doing it.
|
Installation steps overview: - run setup
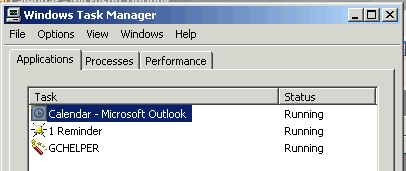
1) Exit outlook
Or start this tool to close the running processes for you. |
|
|
2) Run the setup. (Windows Vista
users may need to right click the setup file to open the properties and indicate
that the file is trusted and should be run as administrator) When you are performing a version update,
|

|
| 3) Start Outlook | 
|
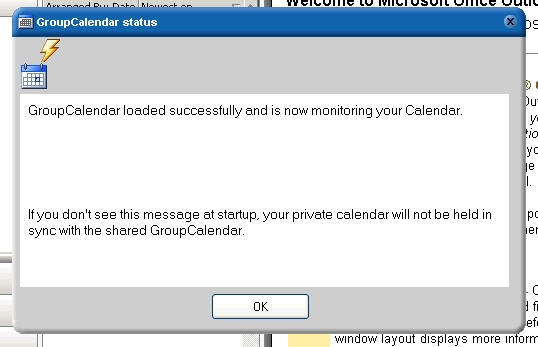
| 4) You will see the welcome box | 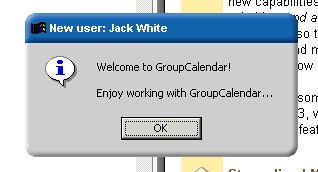
|
| 5) After installation, the appointments that are already in your personal calendar will show up in the Group Calendar only if you answer yes at the moment you are offered to export. If you answer NO, only new and changed items will appear. If you decide at a later time that you do want to show your existing appointments in the Group Calendar, this can be executed by using the import tool | 
|
|
6) Finally you will see this message informing you that the installation was successful. This message will always show on starting Outlook or a few seconds after. Note: If the Update button is showing in the bottom right hand corner then the latest Office patches should be installed on the machine. The setup installs a small utility called 'gchelper' which runs in the background. This tool monitors Outlook to ensure that Group Calendar is still active and activates it if it is not. When installing newer versions of Group Calendar , close the gchelper and Outlook prior to the upgrade. |
|
| 7) Check if the new buttons are visible | 
Buttons with non Exchange install (setupUK.exe)
|
Buttons with non Exchange install (setupUKDA.exe)
|
|
 Buttons with Exchange install (setupUKEx.exe) |
|
|
Exchange
Server users that will use a public folder as the
Group Calendar folder (setupUKEx.exe) click HERE
to skip step 8 - 14 |
|
|
8) Open the personal Calendar.
(This step is not for Exchange
Server users that will use a |

|
| 9) Create a test appointment
in your personal calendar.
(This step is not for Exchange
Server users that will use a |
Outlook 2000
|
Outlook 2003 -> ->
|
|
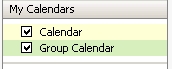
| 10) Check the Group Calendar (subfolder)
NOTE: If you change the group calendar folder setting to another calendar folder then don't select a folder with existing information because the existing information will be deleted. The information is not recognized as correct group calendar information.
(This step is not for Exchange
Server users that will use a |
Outlook 2000
|
Outlook 2003
|
|
|
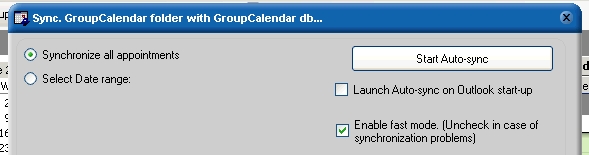
11) Click the "Sync. Group Calendar" button
(This step is not for Exchange
Server users that will use a |
|
|
12) To enable automatic synchronization, check the 'Launch Auto-sync' checkbox. (synchronization is the process that fills your group calendar folder with the appointments of your colleagues. You don't need it to show your information to your colleagues)
(This step is not for Exchange
Server users that will use a |
|
|
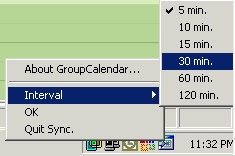
13) Take a look in your systray and find the AutoSync icon.
(This step is not for Exchange
Server users that will use a |
|
|
14) Right-click on it and set the interval to 30 minutes.
This pc is ready for use in stand-alone mode.
(This step is not for Exchange
Server users that will use a |
|
| Now create a shared database
for everyone to connect to and form the group.
|
|
| The next steps are for users of every setup type. (UK, UKDA or UKEx) | |
| You
do this copy / paste process of the database (step 15 to 19)only for the
first pc where you install. The other pc's only have to adjust the
database setting (settings-select database)
15) Open the windows explorer and browse to
|
|
| 16) Copy the Group Calendar.mdb file | 
|
| 17) Make a drive mapping to a share on the network where you and your colleagues all have read/write access to. | 
|
| 18) Check "Reconnect at logon" | 
|
| 19) Paste the Group Calendar.mdb file | 
|
| 20) Open the "Select Database" dialog in Outlook from the Settings button. | 
|
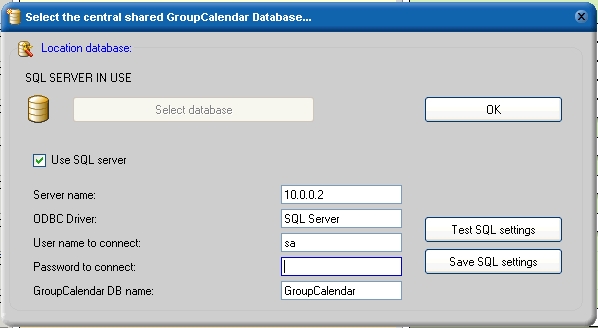
| 21) Press the "Select database" button.
or If a large user group of users all need to connect to the same database and you have SQL server, select 'Use SQL server' and fill in the blanks. |
|
| 22) Browse to the network share | 
|
| 23) Select the shared Group Calendar file and click 'open'. | 
|
| 24) If you never connected to
this database before you will see the welcome message and you will be
given the option to export existing information from your calendar to the
Group Calendar. None
of the original information will be lost.
(The name displayed in GroupCalendar is the name that is set in your Outlook profile. The display name can be changed in the �edit user info� settings and a �nickname� specified . This name will show against your appointments in the GroupCalendar. |
|
| 25) Your settings (and your colleagues) should look like this. | 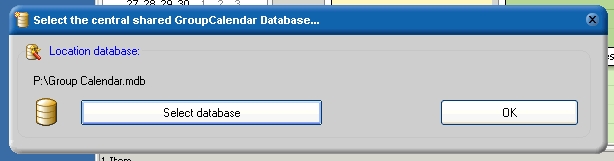
|
The next steps are ONLY FOR EXCHANGE SERVER USERS / ADMINISTRATORS
Make sure that you installed SetupUKEx or SetupUK.
If you installed SetupUKDA, stop here.
Go to the "All public folders" and right click on it. Select "New Folder"

Give the new folder a name and select item type "Calendar Items"
Check the user rights by right clicking on the newly created folder
Give the 'default' group ; Author permissions

Open the 'Select Group Calendar' dialog
Browse to, and select the public calendar folder.
Don't select an old existing calendar folder with existing information because the existing information will be lost.

IMPORTANT; Do the following test procedure to prepare the Public Folder for other users.
Do the following with 'owner' rights to the Public Folder that you created.
In case this does not work correctly read the following:
For the public calendar to be in sync with the personal calendars of all users
it is VITAL that one of the owners of the public calendar folder creates at least
one appointment in their personal calendar while the Group calendar program is
monitoring their personal calendar.
The GroupCalendar program will add a few
fields to the public calendar folder that it needs to keep appointments in sync.
but it can only do that if it is used at least once by someone who has owner
permissions.
Be aware that when an exchange server administrator changes Exchange server
permissions so you become the folder owner, those changes can take a long time to become
effective. It might even be needed to restart the 'exchange server directory
service' for the permission change to become effective.